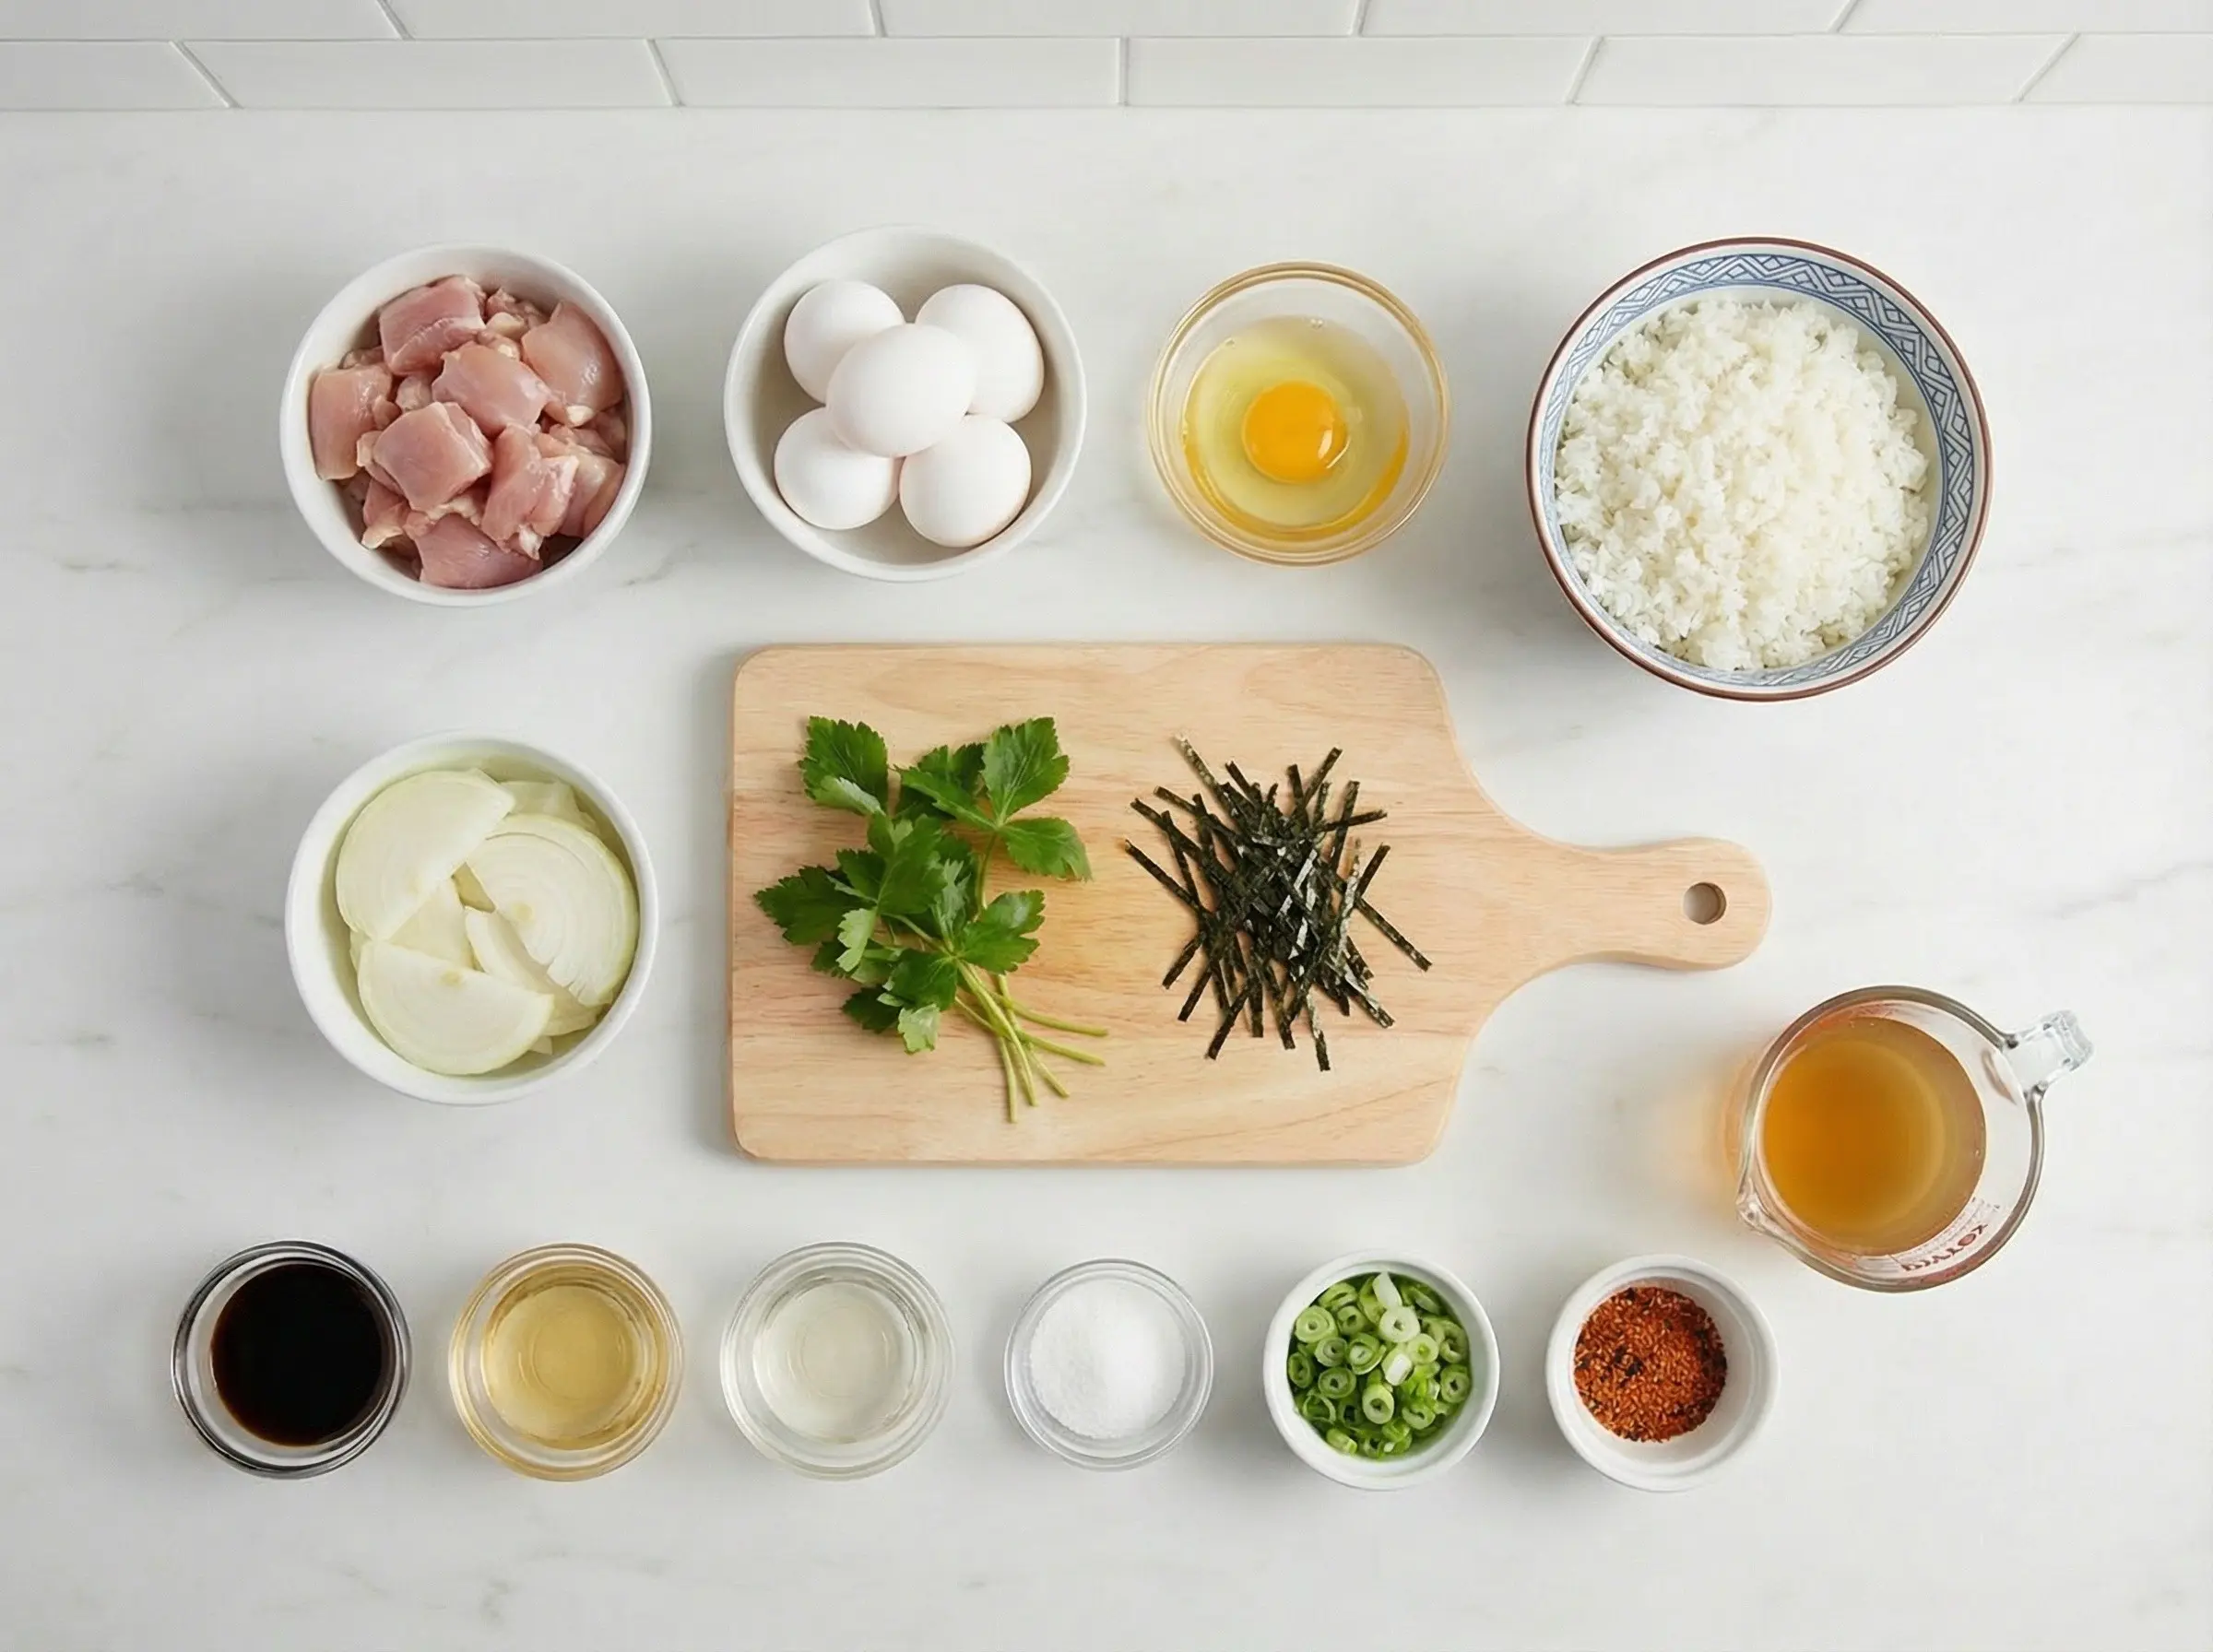
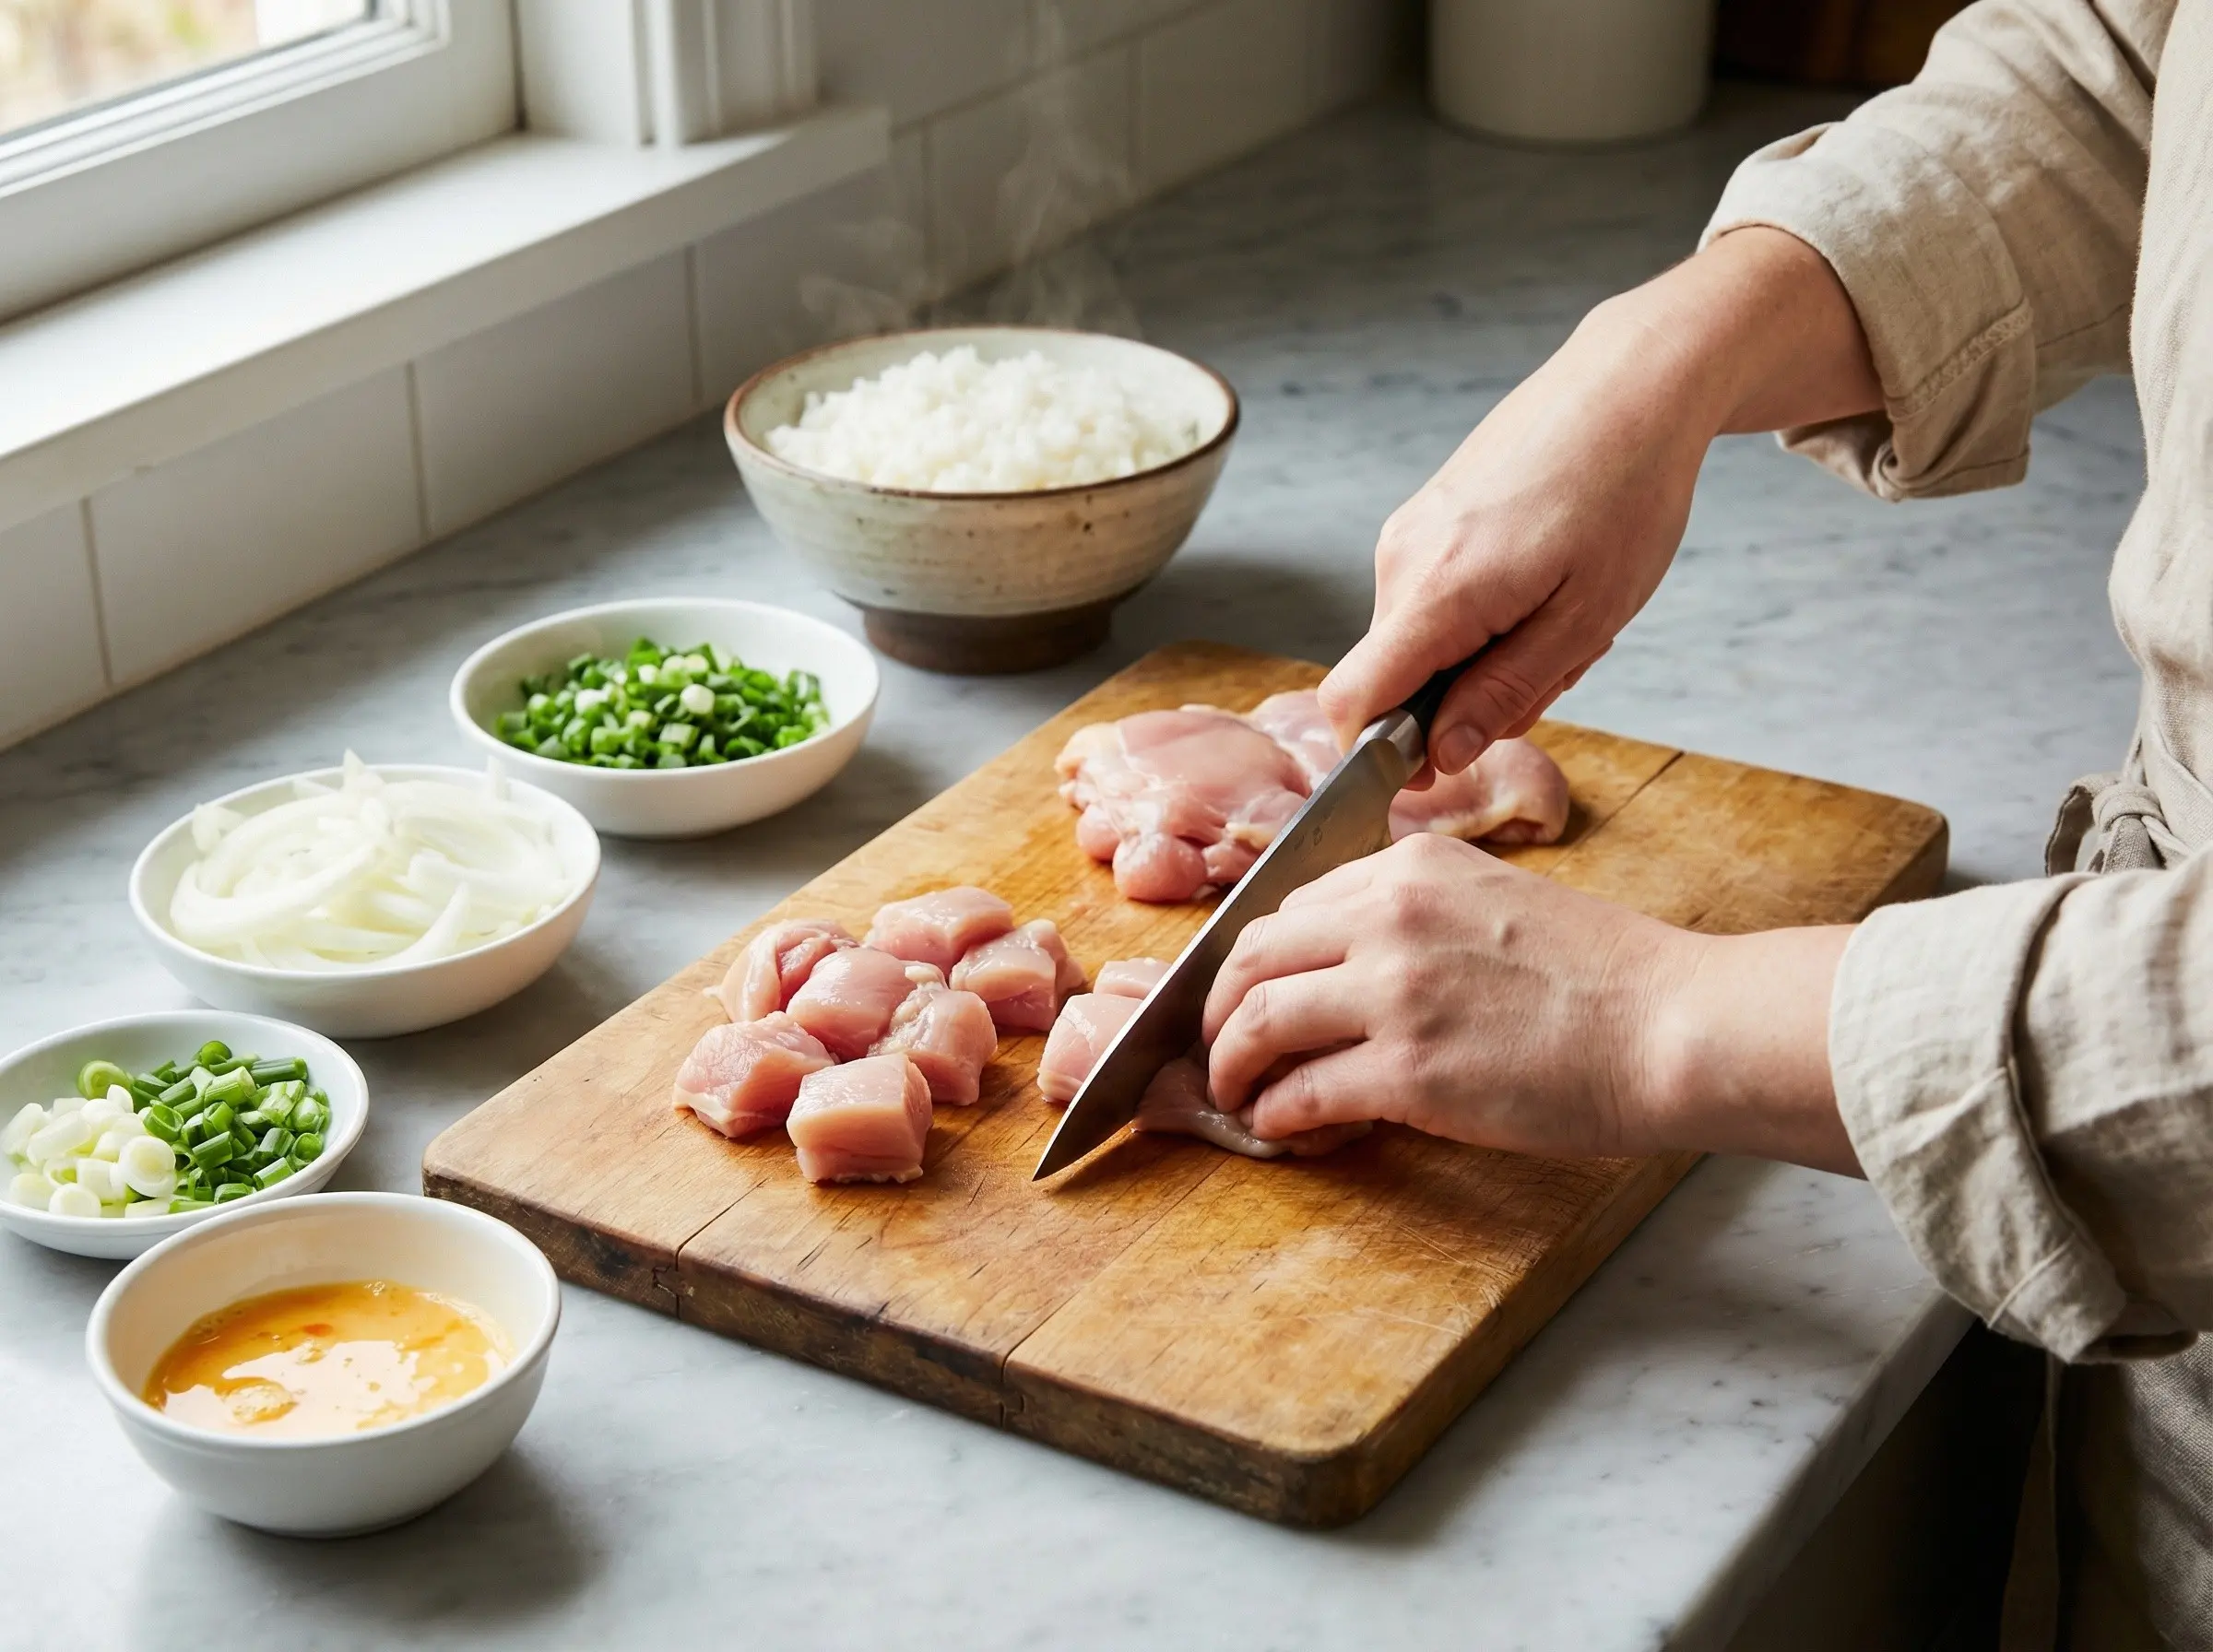
1Prepare all ingredients before cooking as oyakodon comes together very quickly. Cut the chicken thighs into bite-sized pieces, about 1-inch cubes - thigh meat is essential as it stays tender and juicy, unlike breast which can become dry. Slice the onion into thin half-moons, about 1/4 inch thick. Slice the green onions, separating the white and green parts. Lightly beat the eggs in a bowl just until the yolks and whites are combined - do not overbeat as you want some streaks of white and yolk visible in the final dish for visual appeal and textural variation. Have your hot cooked rice ready in serving bowls.
2Make the cooking broth by combining the dashi stock, soy sauce, mirin, sake, and sugar in a small bowl. Stir until the sugar dissolves. This savory-sweet broth is the flavor foundation of oyakodon. If you do not have dashi, you can substitute with chicken stock mixed with a small splash of soy sauce, though the flavor will be less authentic. The balance should be savory with subtle sweetness - taste and adjust if needed. Authentic oyakodon relies on good quality dashi, so using homemade dashi or high-quality instant dashi powder makes a noticeable difference.
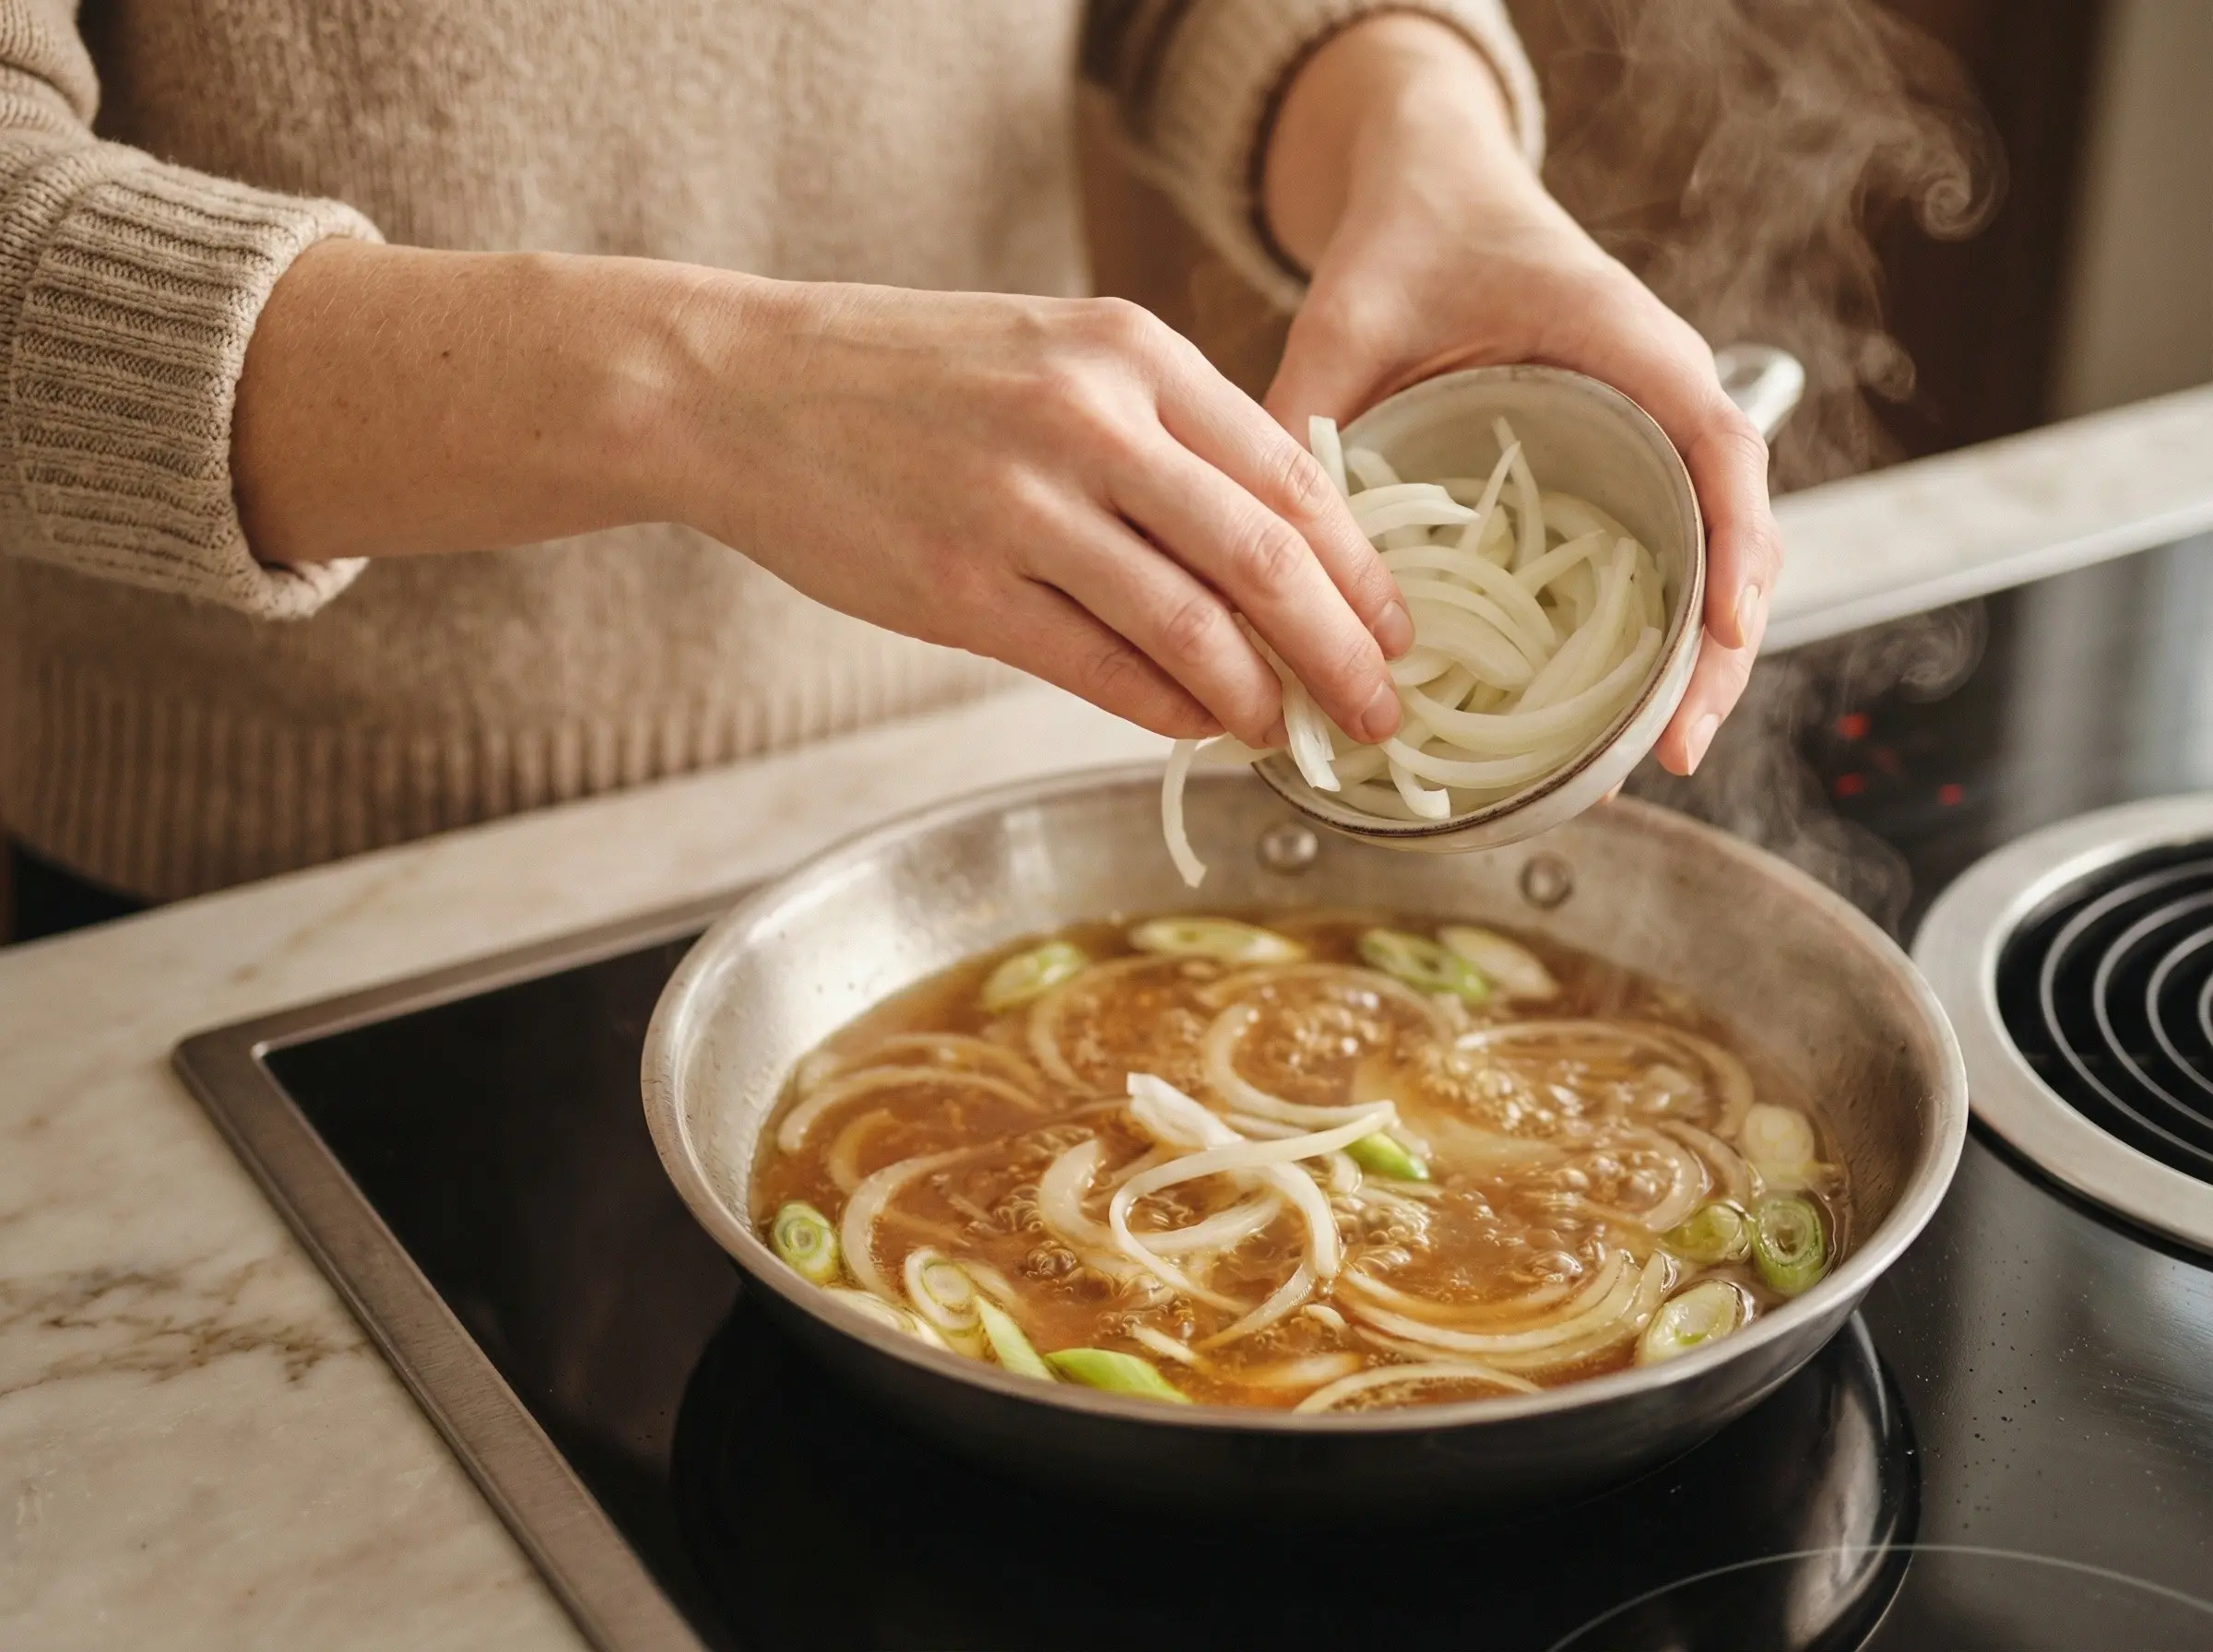
3Oyakodon is traditionally made one portion at a time in a small lidded pan called an oyakodon nabe, but a small 8-inch skillet works well. Pour half of the broth mixture into the pan and bring to a simmer over medium heat. Add half of the sliced onions and the white parts of one sliced green onion. Simmer for 2-3 minutes until the onions are softened and translucent. The onions should be tender but not mushy, as they provide important texture to the final dish.
4Add half of the chicken pieces to the simmering broth, spreading them out in a single layer. Let them cook for 3-4 minutes, turning once, until cooked through and no longer pink inside. The chicken will release some juices into the broth, enriching its flavor. Do not overcook - the chicken should be just done, as it will continue cooking briefly when the eggs are added. Reduce the heat to medium-low.
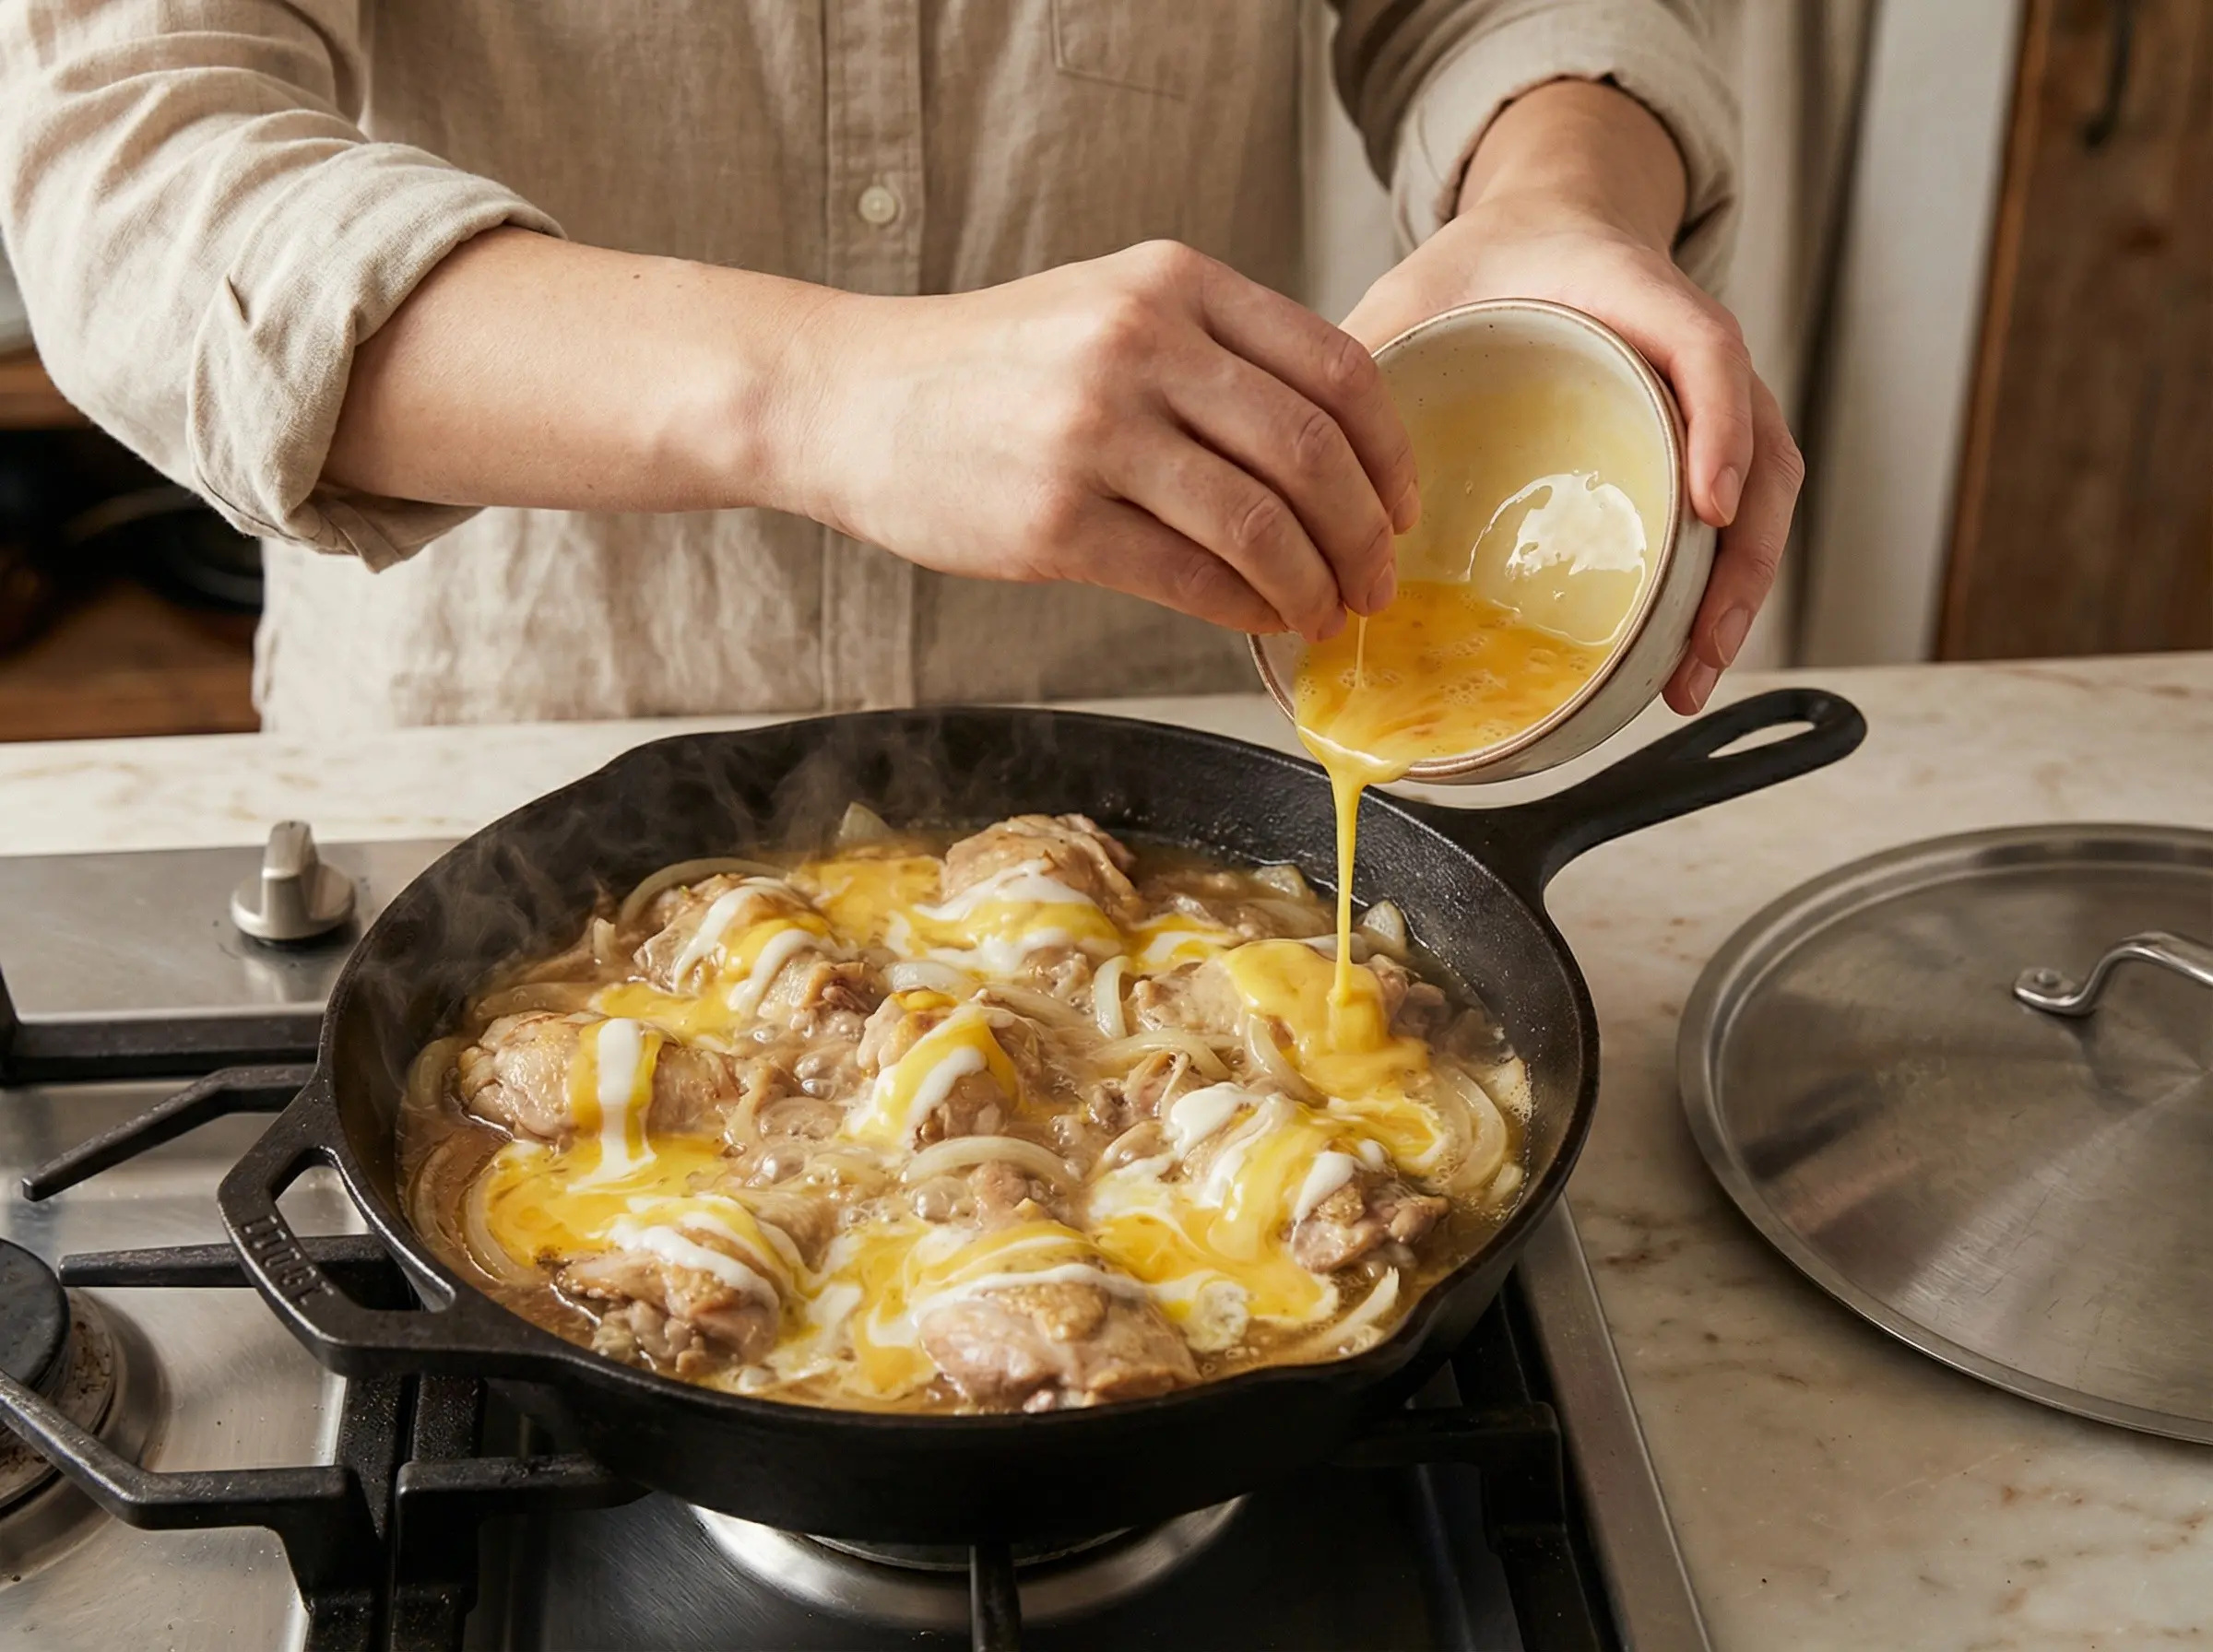
5This is the crucial step that makes or breaks oyakodon. Give the beaten eggs a gentle stir, then pour about two-thirds of half the egg mixture (one portion) evenly over the chicken and onions in a circular motion. Cover the pan with a lid and cook for about 30 seconds. Remove the lid and drizzle the remaining one-third of the egg portion over the top. The eggs underneath should be mostly set while this final addition remains soft and silky. Cover again and cook for another 20-30 seconds. The eggs should be just barely set - still glossy, soft, and slightly runny in places. Remove from heat immediately. The residual heat will continue cooking the eggs, so it is better to undercook slightly than overcook.
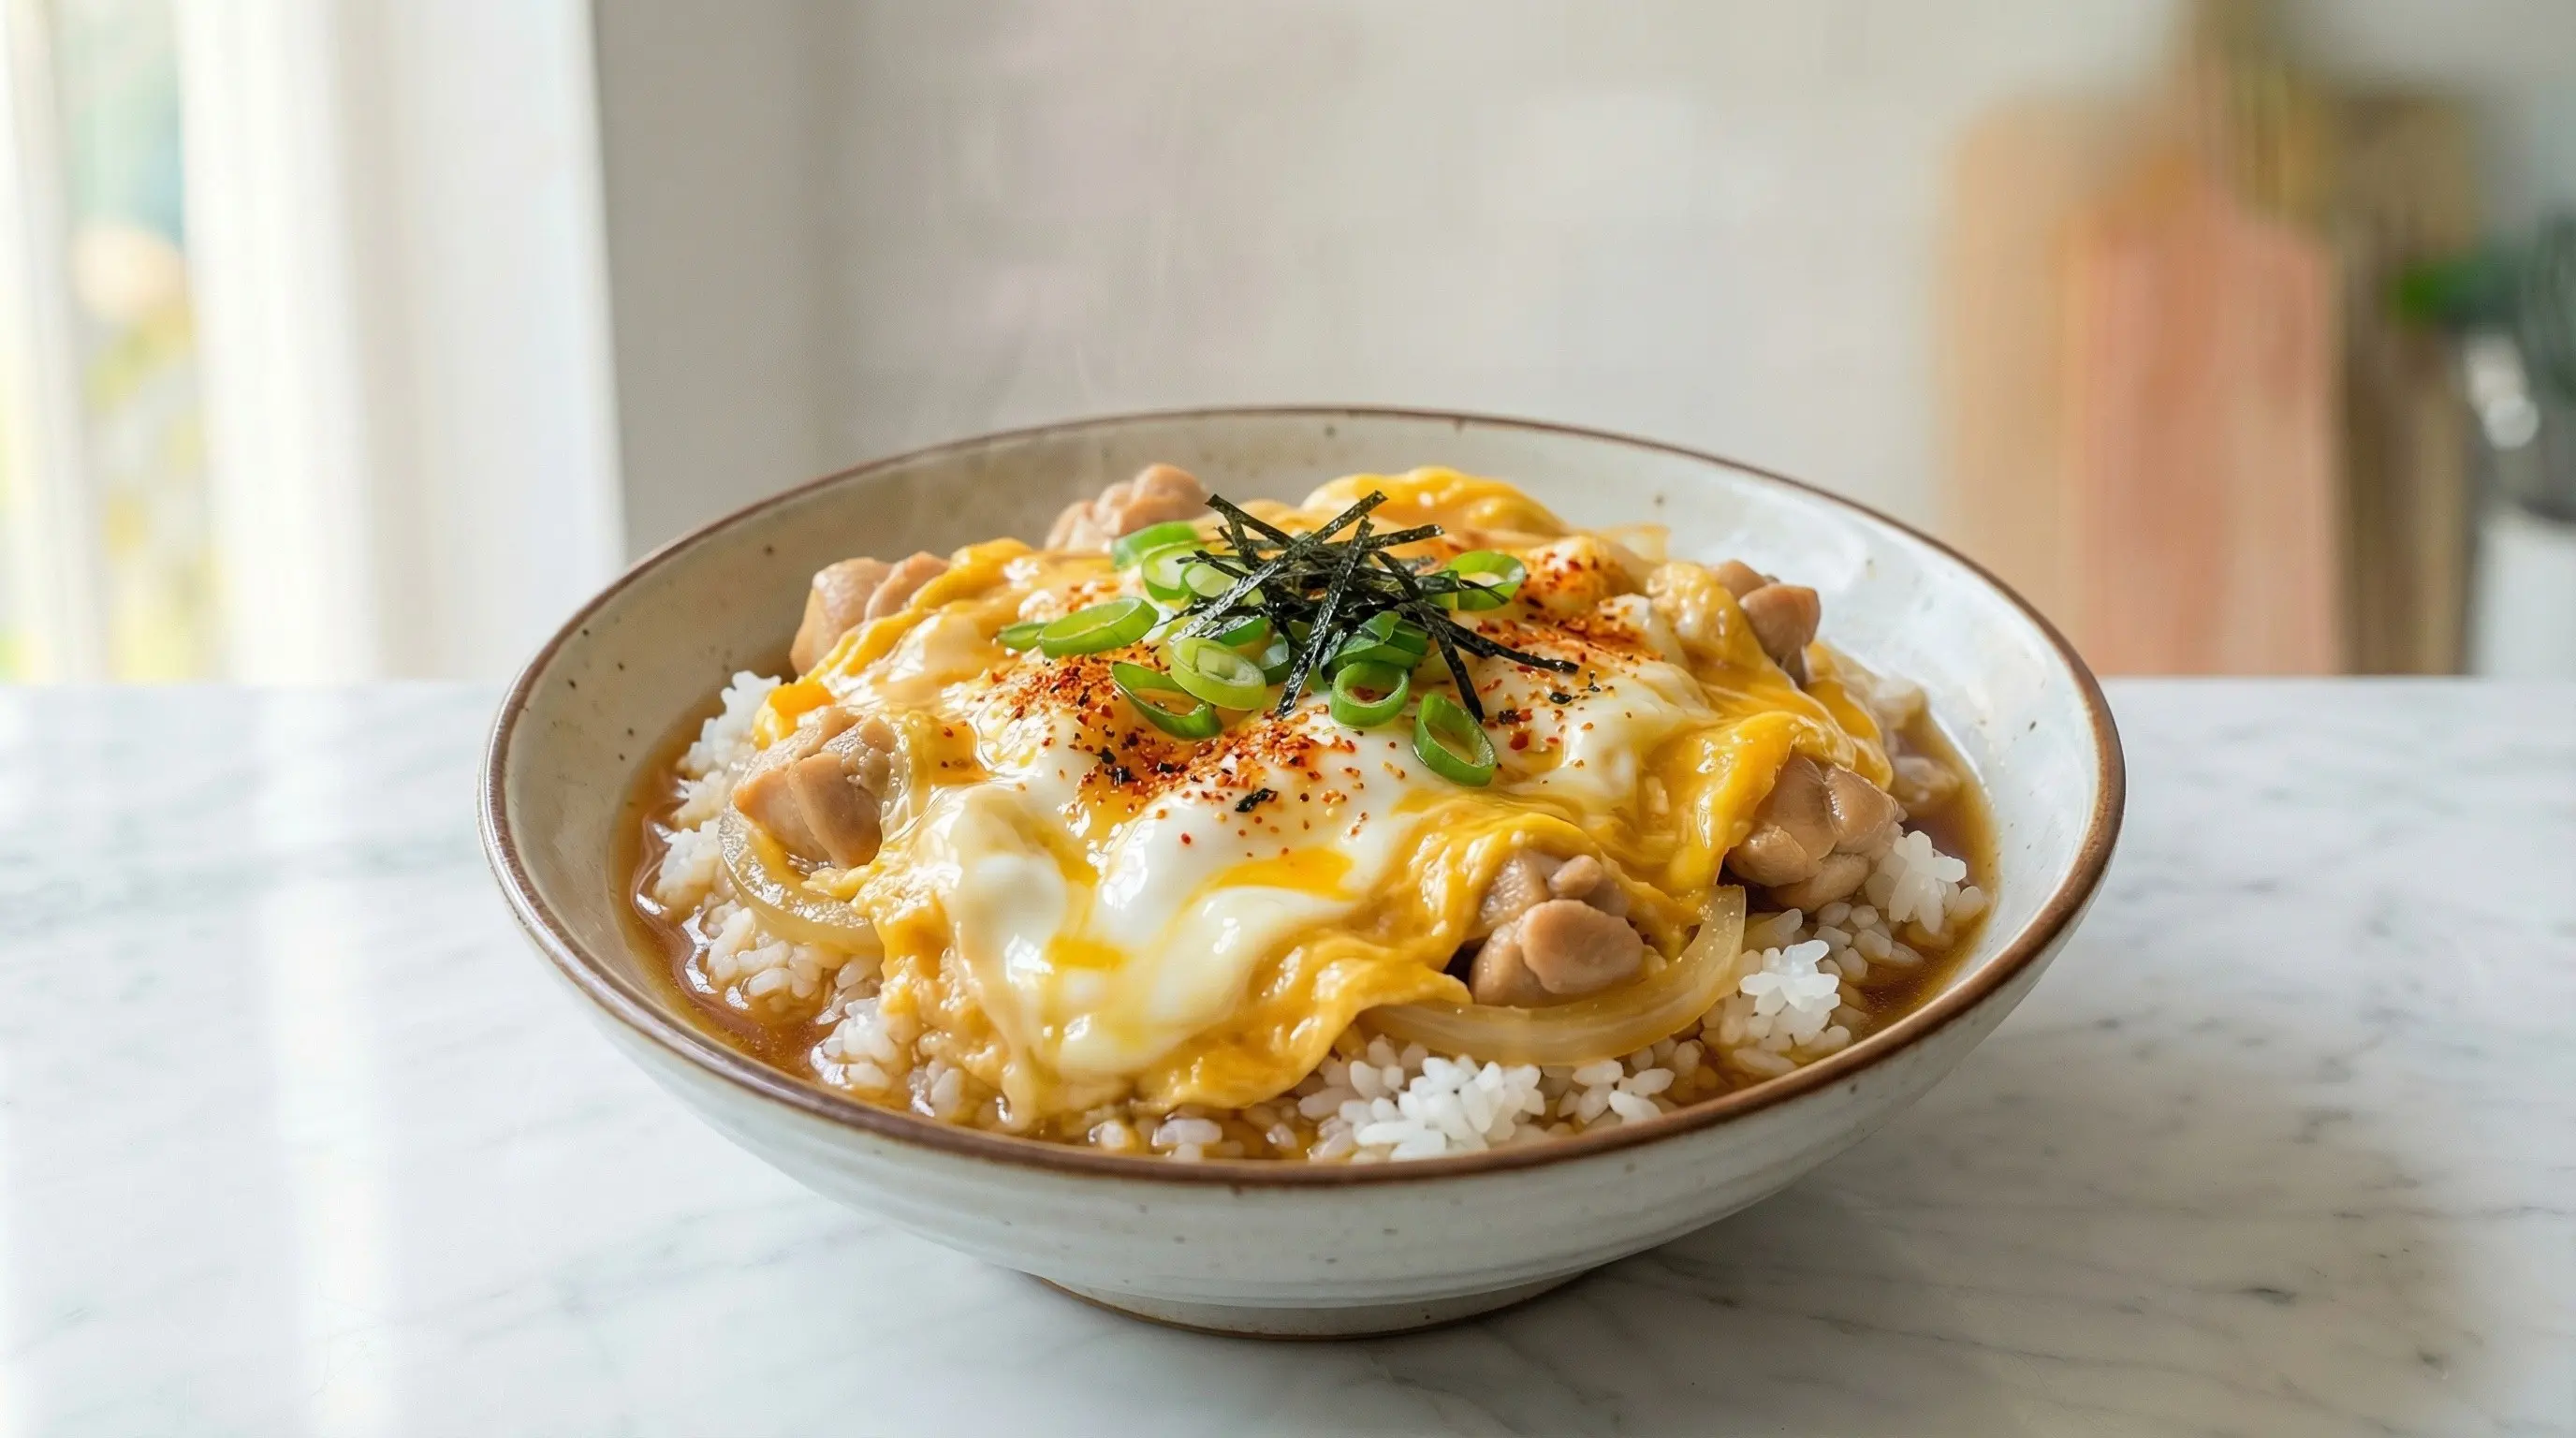
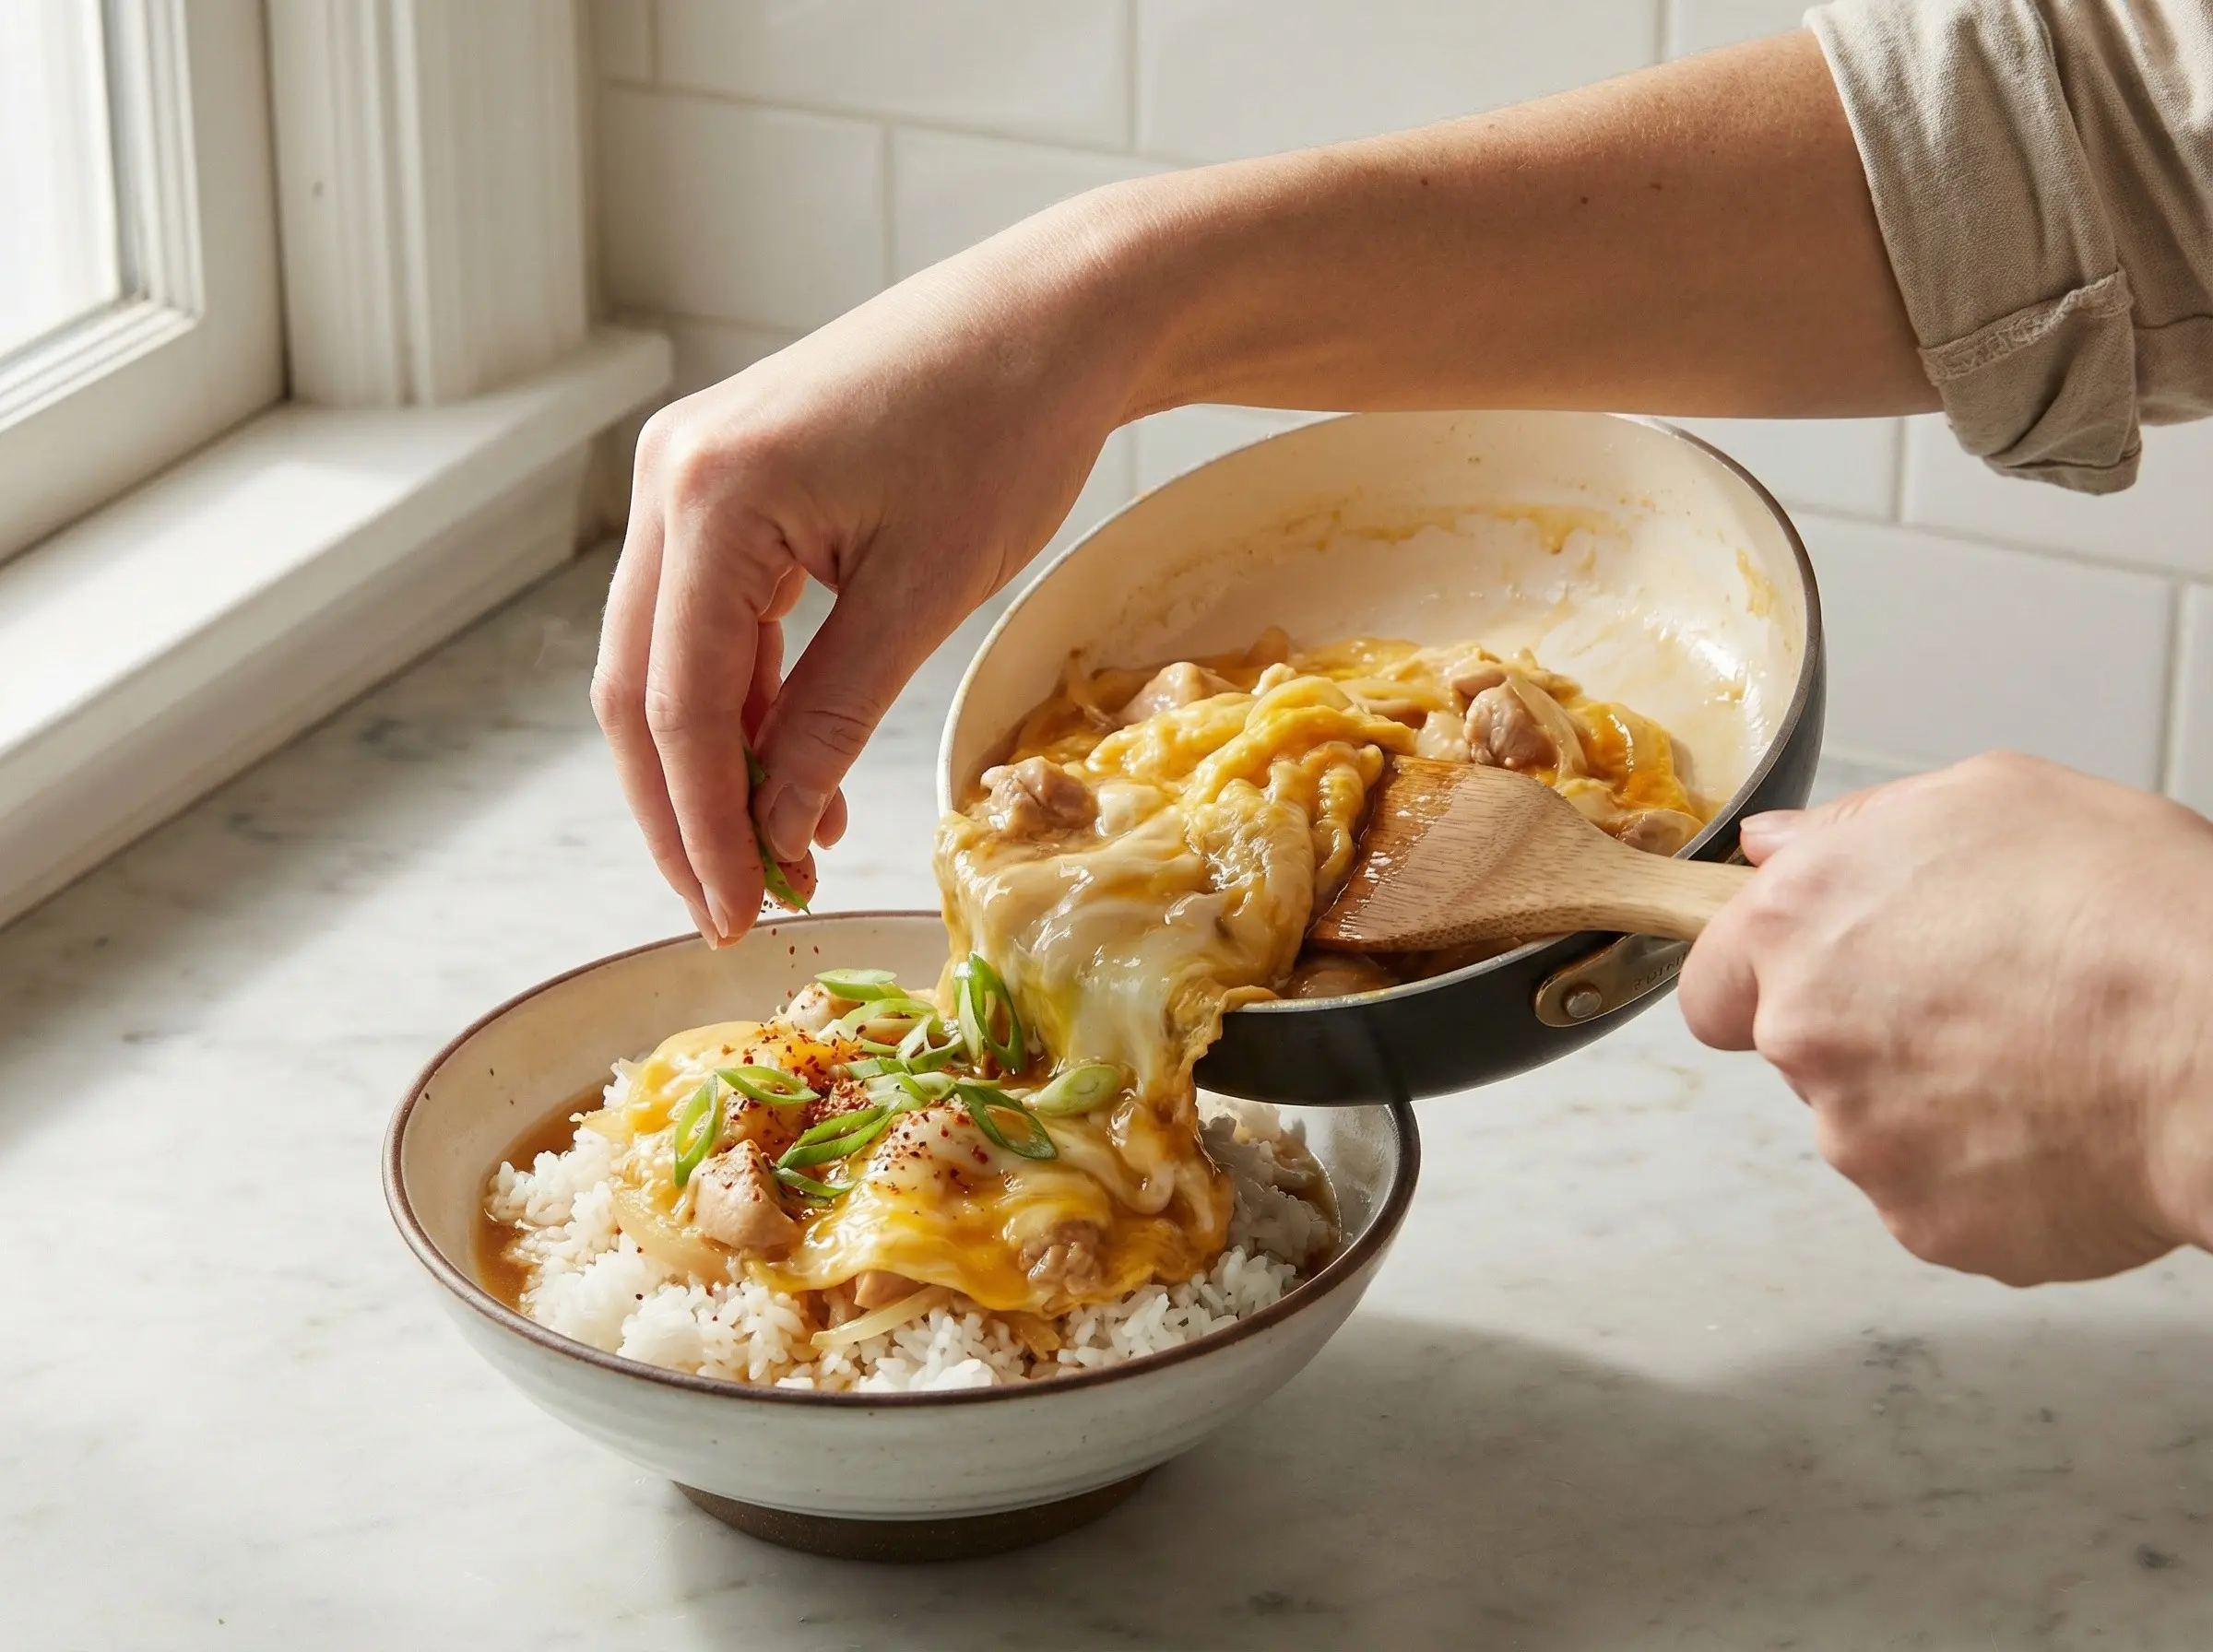
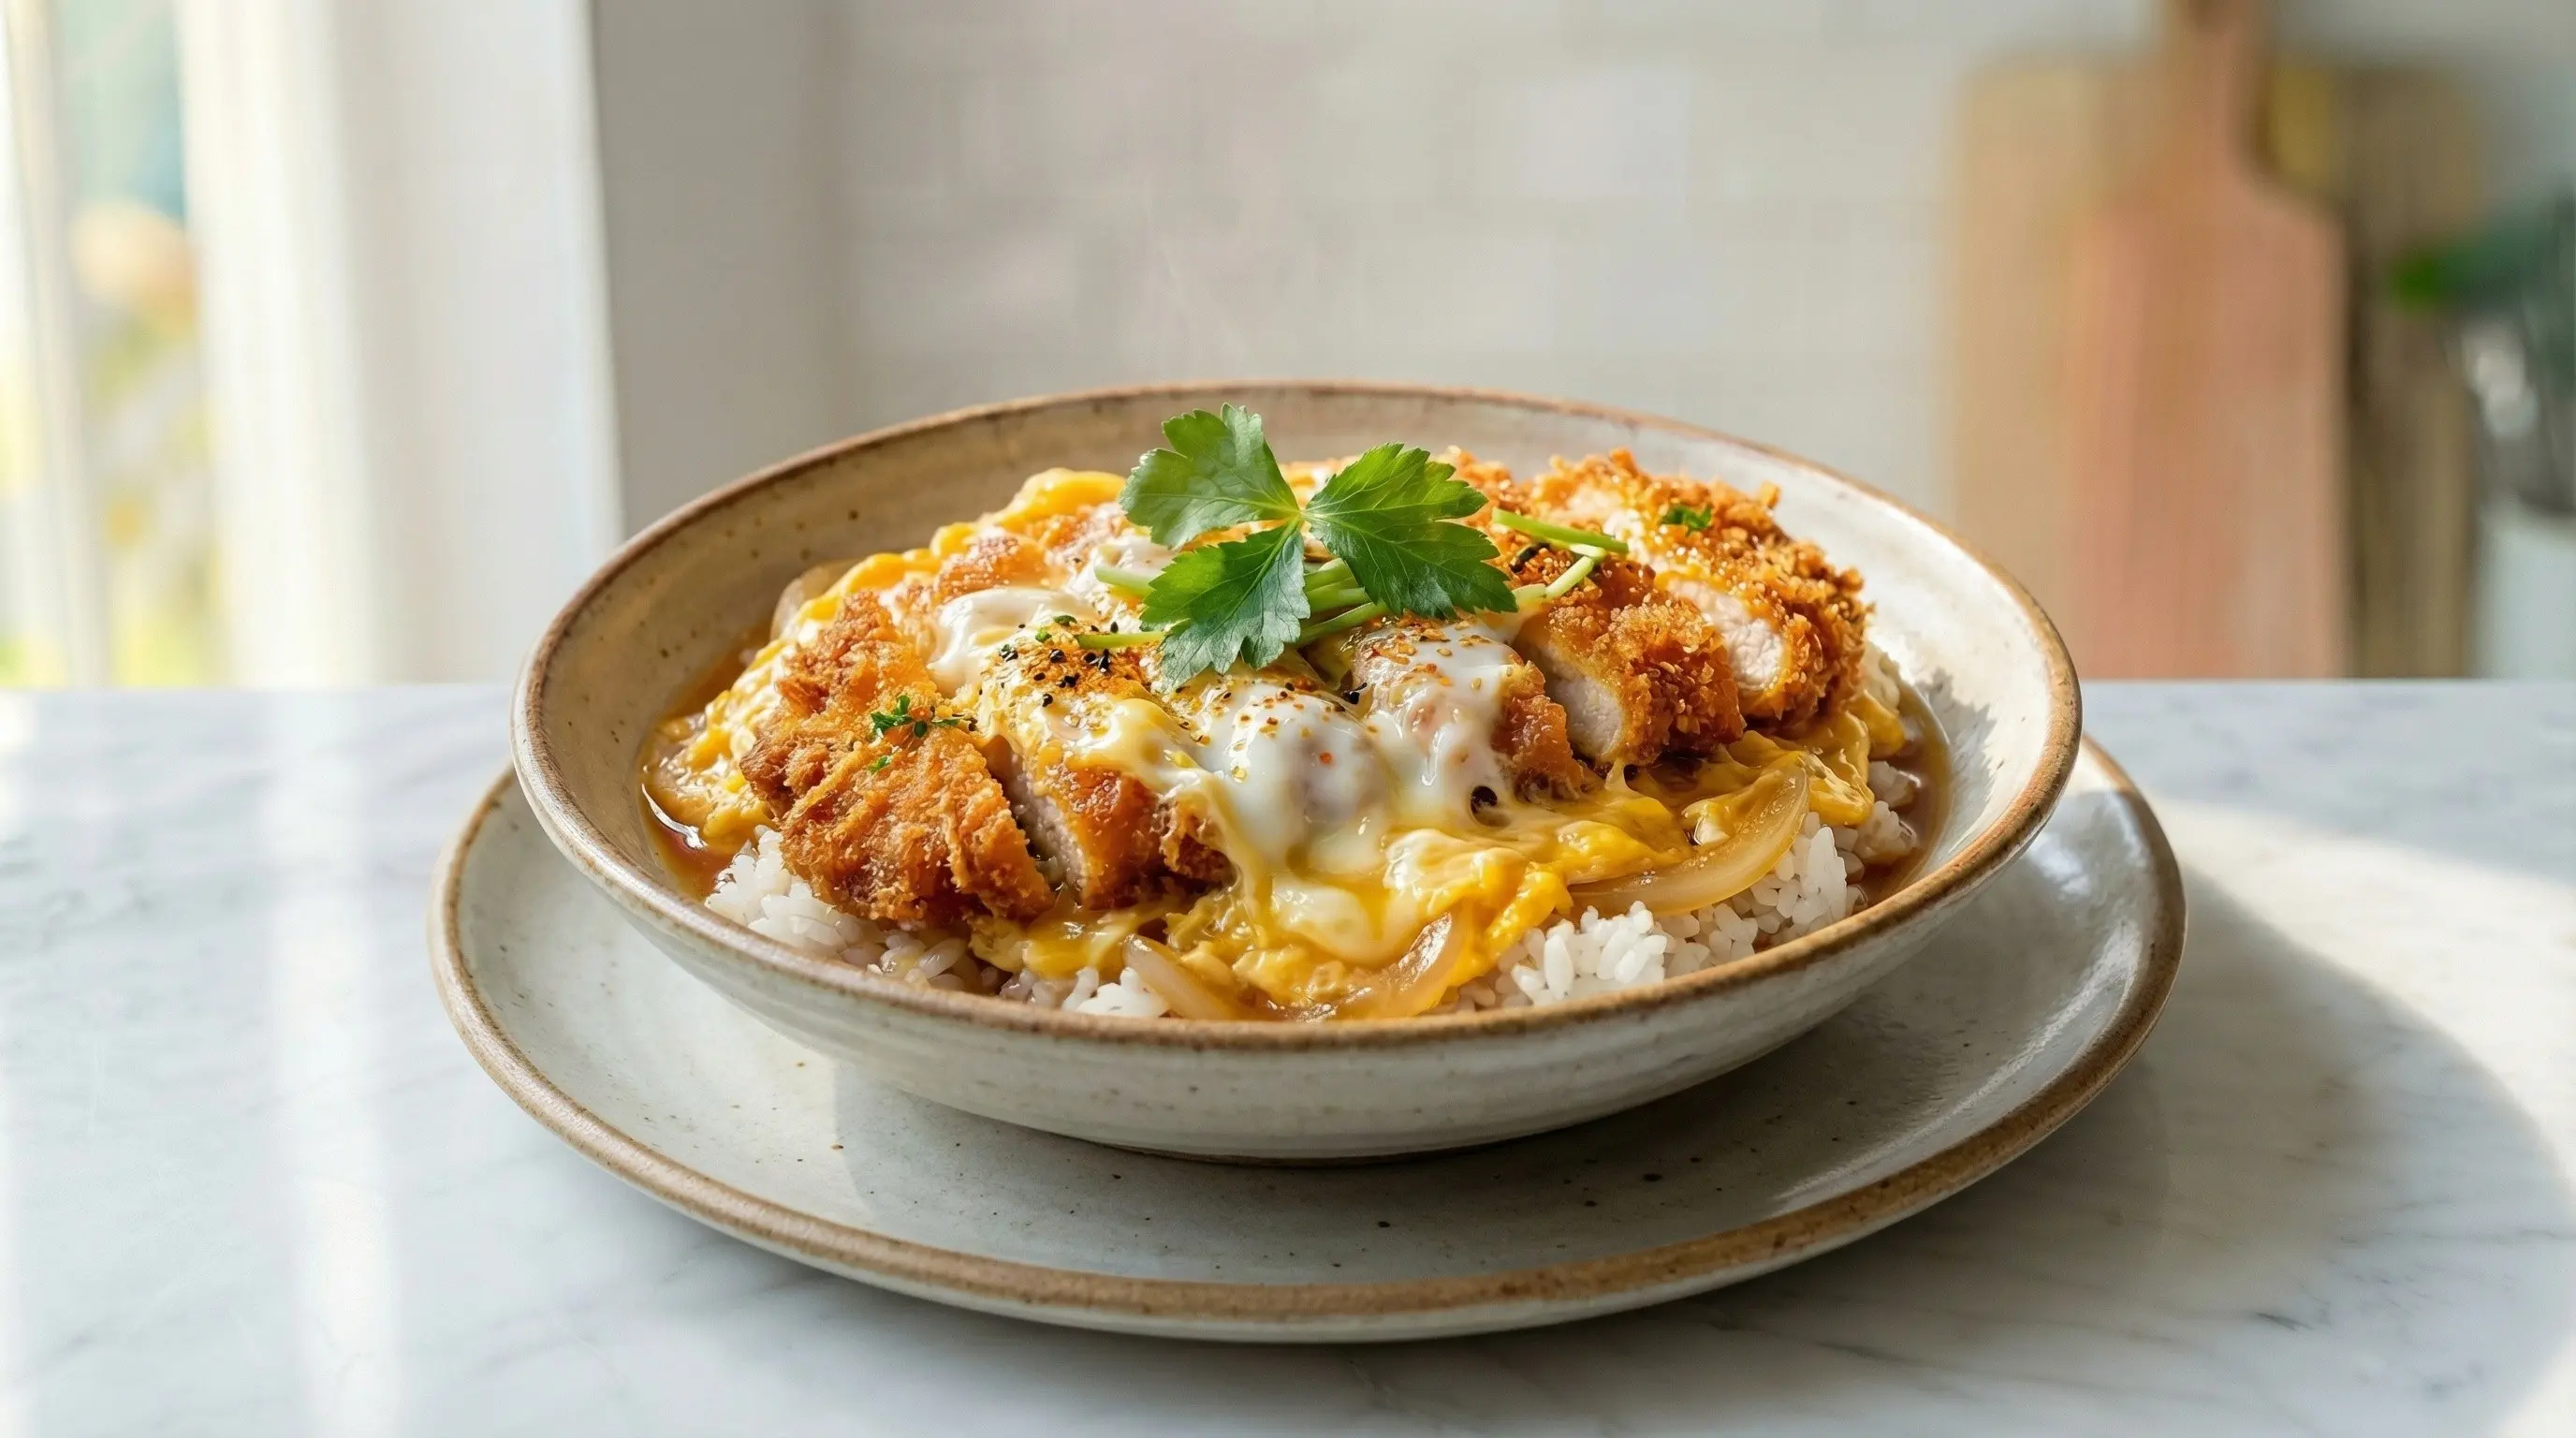
6Working quickly while the eggs are still silky, slide the oyakodon topping gently over a bowl of hot steamed rice, using a spatula to help guide it. The soft eggs, tender chicken, sweet onions, and savory broth should cascade over the rice, with some of the delicious cooking liquid soaking into the grains. Garnish with the green parts of the sliced green onion, mitsuba (Japanese wild parsley) if available, and a sprinkle of shichimi togarashi (seven-spice powder) for a touch of heat. Thin strips of nori add nice color and flavor contrast. Repeat the process to make the second portion with the remaining ingredients. Serve immediately while the eggs are still soft and the rice is hot. Oyakodon should be eaten right away - the eggs continue to set as the dish sits. Eat it with chopsticks and a spoon to capture every bit of the flavorful broth that pools at the bottom of the bowl.